About
At jobs (called Scheduled Commands by Webmin) are similar to Scheduled Cron Jobs, but instead of executing repeatedly on a schedule run only once at a specified date and time. Unlike Cron jobs, they can be configured to execute in a specific directory instead of the user’s home directory. Scheduled commands also keep track of the environment variables that were set when created, and make them available to the command when it runs.
Normally the at command is used to create At jobs, the atq command to list them and the atrm command to remove them. On Linux, the directory /var/spool/at is used to store jobs, one per file. The daemon process atd which runs all the time in background checks these files and runs them at the appropriate times. After a job is run, it is automatically deleted as it is no longer needed.
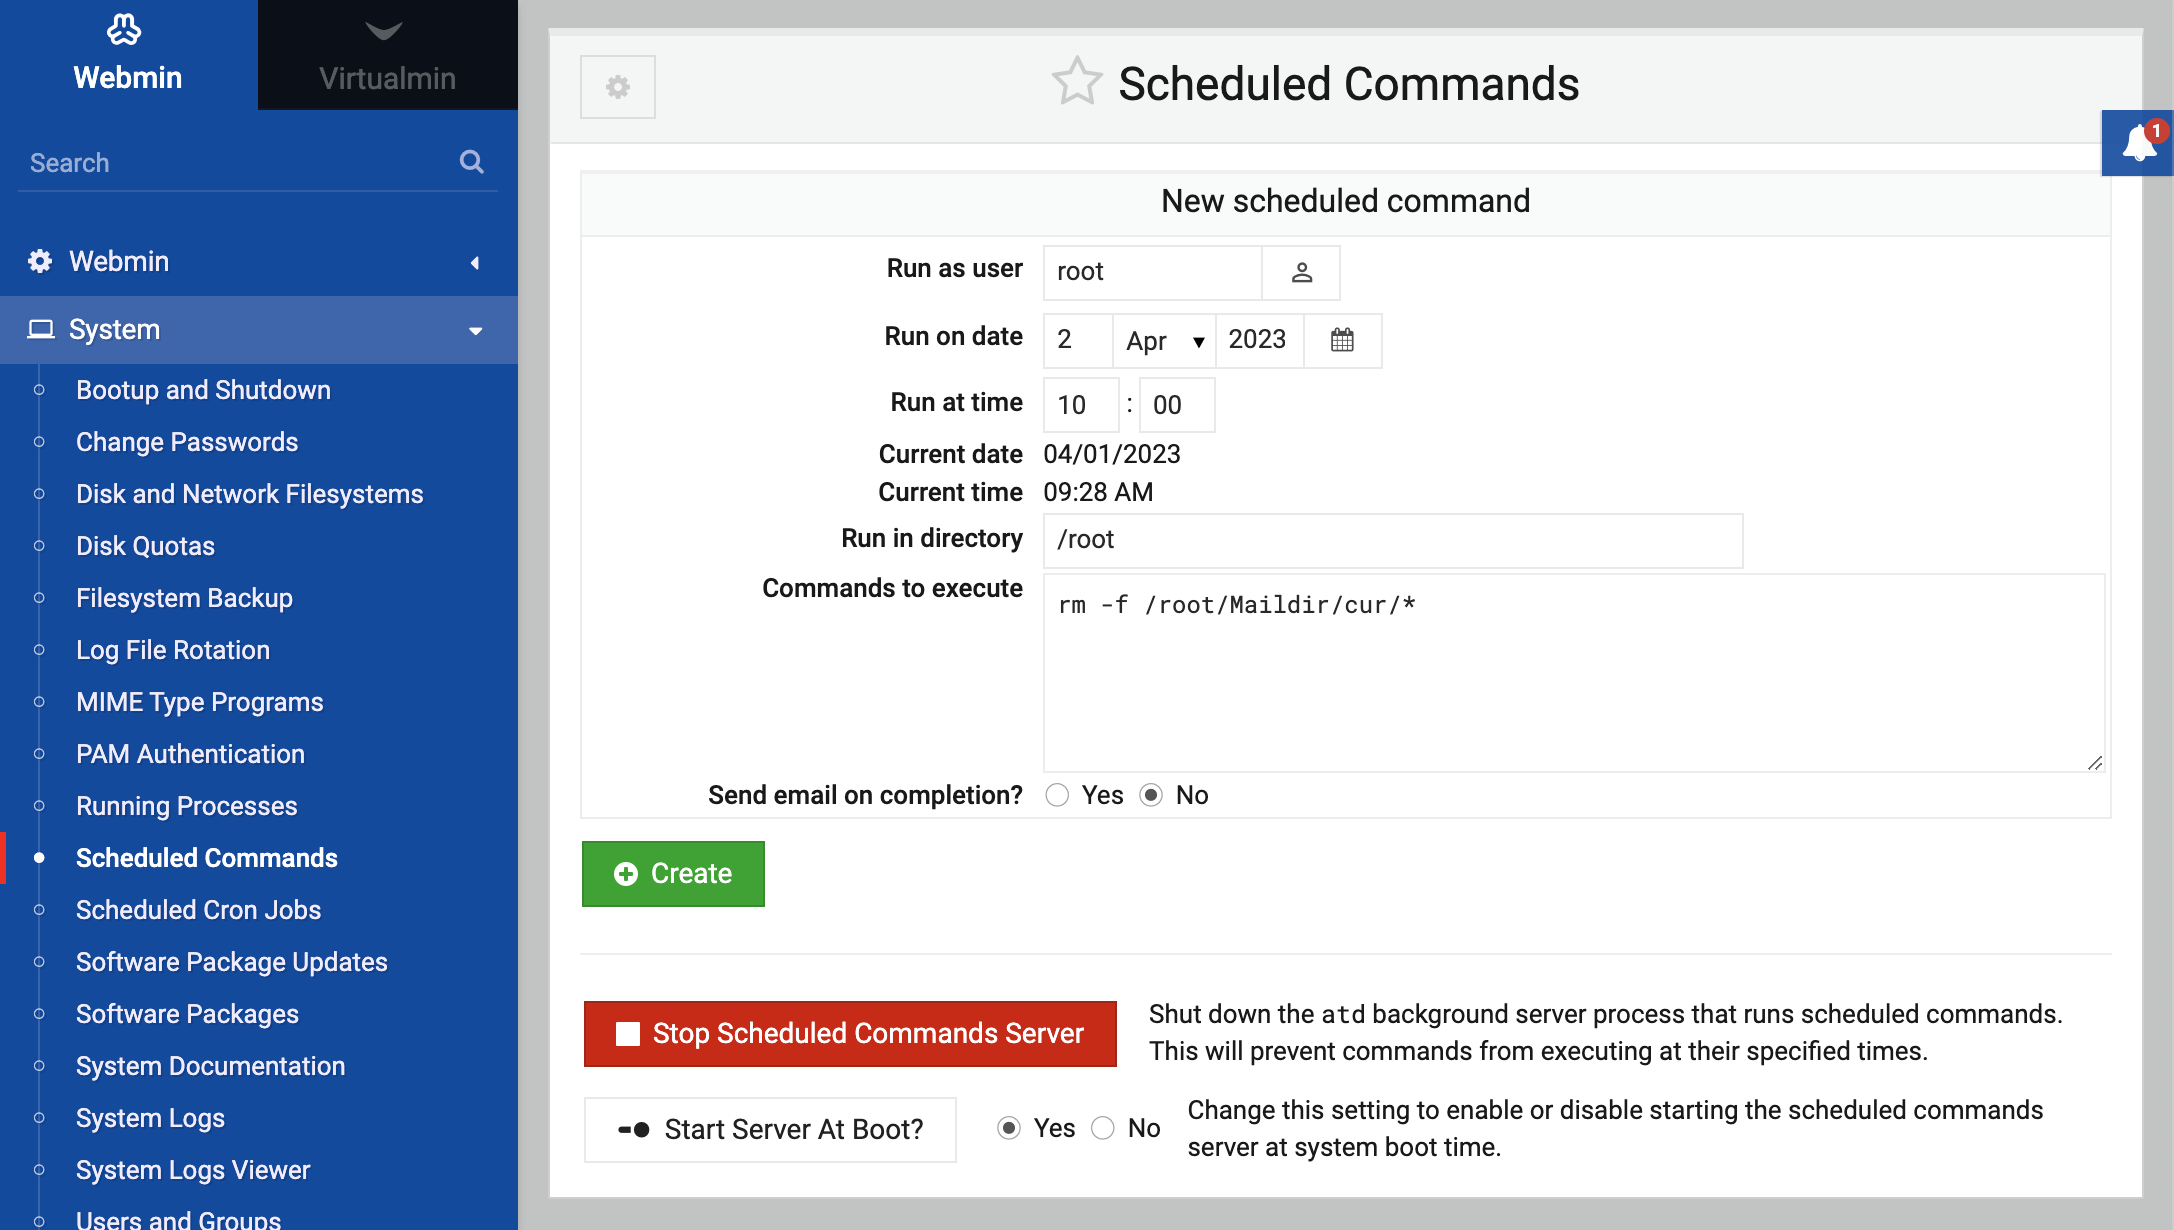
The Webmin module for creating and deleting At jobs is called Scheduled Commands, and can be found under the System category. When you enter it, the main page will display a list of commands that are waiting to be run (assuming there are any), and a form for adding a new command. The image below shows an example.
Any of the commands shown on the main page can be viewed in more detail by clicking on its Job ID. This will take you to a page that shows all the full shell script that will be run when the command executes, including all environment variables. For this page you can cancel the command before it gets a chance to run by clicking the Cancel this command button.
Creating a new scheduled command
A new command that executes at the time and as the user of your choice can be created by following these steps:
- On the main page of the module in the New scheduled command form, enter the name of the user that you want the command to run as into the Run as user field.
- Fill in the Run on date and Run at time fields with the date and time that the command is to run at.
- Set the Run in directory field to whatever directory you want the command to run in.
- In the Commands to execute text box, enter as many shell commands as you want, one per line.
- When done, click the Create button. The page will be refreshed and your new command will appear on the list at the top of the page.
Scheduled commands created from within Webmin will use environment variables set by Webmin itself, which are not be the same as the variables that would have been set if the command was created by its owner at the shell prompt.
